Designing an affiliate website can often feel overwhelming if you have never used DecoNetwork’s content management software (CMS). By breaking down the website design process into simple steps the software starts to become less intimidating/complex.
The Importance of / How to Choose The Right W
ebsite Theme
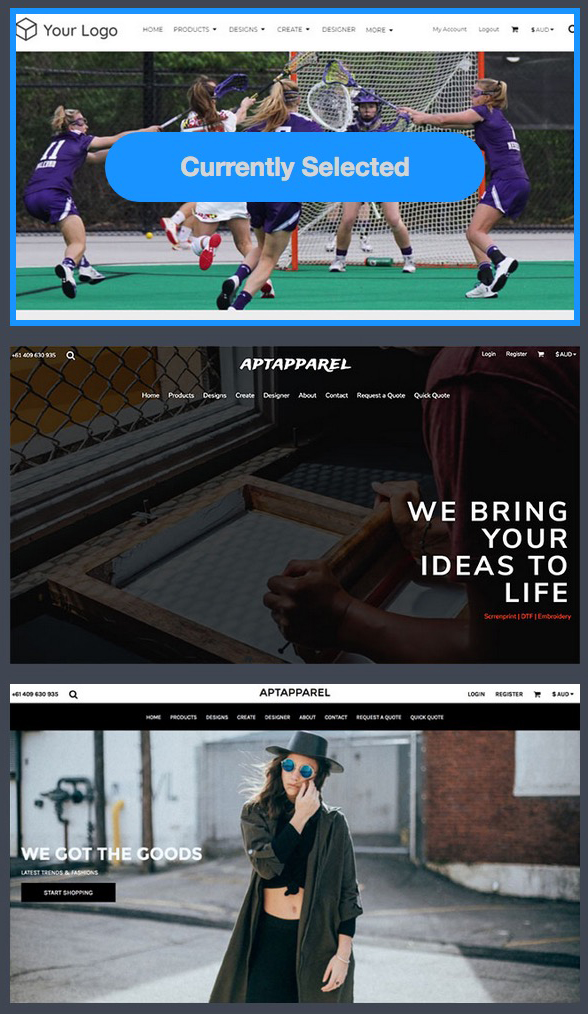
The first step revolves around selecting a website theme. The website theme controls the general layout of your website, in particular the header. The header of the website contains the main navigation including the site’s logo/name. Selecting the right theme to use for a website primarily revolves around how you want the website’s header to be organized. Either your website’s logo/name will be centered above the main navigation links or it will be located in the top left corner with the navigation appearing to its right. The theme that is used is all about personal preference. The theme should be set right after a site is launched and rarely ever changed. Changing website themes after a site has already been designed is not highly suggested because it can create a lot of extra work. The good news is that by “Publishing” a site before changing its theme creates a backup of the website that can be reverted to at any point.
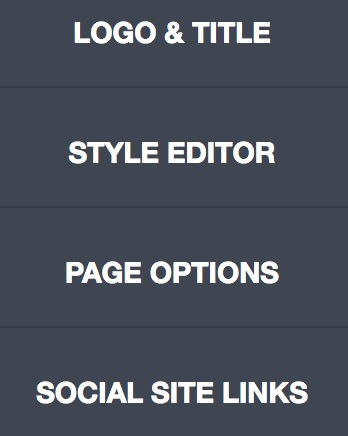
Once a theme has been selected, then it is time to edit the “Design Settings” of the website. The website design settings are broken into four sections: Logo & Title, Style Editor, Page Options, and Social Site Links.
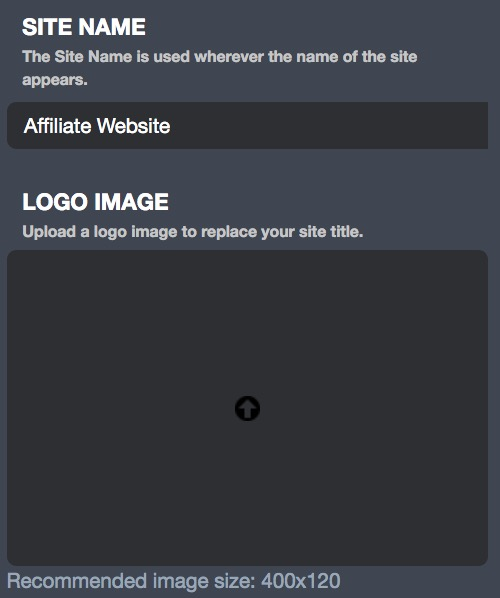
The Logo & Title section is where you can add your website’s Logo, Address Bar Icon, Site Name, and Page Title. In order for your website’s logo to look sharp (not blurry) you will want to upload an SVG vector and make sure it is sized at 400x120 points or smaller. By uploading an SVG vector your logo can scale itself in size to different types of devices (desktop, tablet, phone) without losing any image quality.
The Style Editor section is where you can configure the overall color scheme of your website. The initial color scheme of the site is first determined based on the website theme being used. The header, dropdown, body, headings, buttons, and designer color schemes all need to be configured within the style editor section. The “headings” and “buttons” color schemes correlate to the heading and button widgets. By configuring the layouts/colors for the different types of headings and buttons that will be used throughout the website you won’t have to update their settings when they are added to the site which saves time. Additionally, and just as importantly, this creates consistency when it comes to design.
The Page Options section is where you can choose how you want certain aspects of your website to function / what to display. The page option settings take very little time to configure as they revolve around deciding to either display a feature or not. These features include: Breadcrumbs, page content margin, currency selector, shopping cart, search box, and how you want the navigation links to function / display. The most advanced setting within the Page Options section is to make the DropDown menu display any other way than “simple”. Once you change the Dropdown Menu display to “specify, content, or page width” you will then need to update the dropdown menu at the bottom of the “System Pages” section within “Pages”.
The Social Site Links section is where you can easily add social media links. Links to your Facebook, Pinterest, Twitter, Instagram, Google Plus, and Youtube can all be added by configuring the URL for each social media platform.
If you take the time to first choose the right theme, edit the color schemed within the style editor, configure the page options, and add your social media site links, your website will be on a pathway to success.